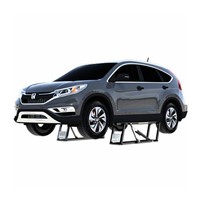
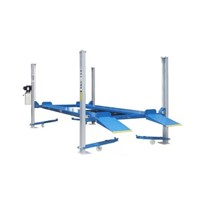
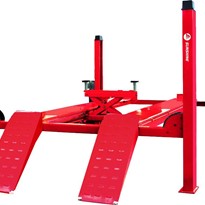
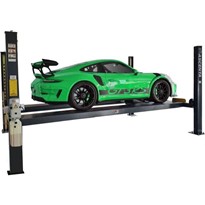
So, you've brought your shinny, new car hoist. You can't wait to transform your garage, save more space and effortlessly access the underbody of your car at any given moment.
However, there are several considerations to bear in mind before you start your garage transformation. While the installation is any easy process, it's important to understand what is required before you get your car. And - as much as we share your excitement - we want you and your garage to be prepared for the installation, so your experience is seamless.
First, consider the primary purpose of your lift - is it for repairs, storage or general maintenance? This will dictate how much you need around your hoist. You'll want to consider the height of your ceiling and whether it will dictate the model options available for your garage.
We also suggest doing a survey of your garage or workshop area for shelving and workbenches that could prevent your new hoist from being installed or able to operate properly. Your garage will need to remain functional, while being wide and deep enough to fit your new hoist. Remember to ensure you have enough clearance in your garage by considering remote panel doors when open, as well as the width, height and length of your vehicle.
Once you've done this, make sure you have the recommended concrete slab for your new car hoist to be safely installed. Manufacturers minimum concrete thickness requirements car vary between 100mm to 200mm. If you don't have the minimum requirement, sometimes you can create your own footings.
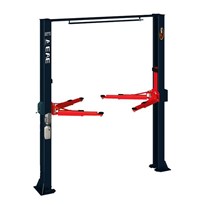
Existing Floor: 2 Post Lift
Firstly, ask your supplier for a hoist drawing. You’ll need to ensure your floor is level and meet the manufacturers minimum concrete depth requirements of your chosen model. You can start by checking your floor for any cracks and measuring where the columns will be installed.
Next, concrete anchors need to be installed at least 150mm from the edge of the concrete (otherwise your hoist will not be anchored to the concrete properly). Ensure there are no seams or cracks within 900mm of the base plate.
New Floor: 2 Post Lift
While your garage is under construction, it is a great time to add a footing for your hoist. Discuss the floor and footings for your new hoist with your concreter. As a guide; 25MPA concrete, 1 square metre around each column add extra 200mm in depth for your column footings.
After you have your concrete base setup, it’s important to consider your power requirements. Our hoists are available with either a 240V or 3 phase power unit. You may need to consider an electrician in order to check your garage wiring and ensure it’s setup properly
Concrete and flooring requirements for 4 Post lifts will vary by model, so discuss with your supplier.
Now your garage is prepared, consider the installation of your new hoist. Do you have the time, expertise and tools needed for installation? Otherwise you may need to consider the guidance of a professional to help you. Read more about the requirements in our FAQ section here.
We hope you found this helpful in the preparation process. As always, please feel free to contact Tufflift’s customer support team on 1800 88 33 50 and we can assist in helping you choose the right hoist for your needs.





-160x160-state_article-rel-cat.png)
-160x160-state_article-rel-cat.png)


-160x160-state_article-rel-cat.png)
-160x160-state_article-rel-cat.png)










-375x300-205x205.jpg)

-205x205.jpg)

-205x205.jpg)

